I am going to tell you a secret; you do not have to completely renovate your RV to make it feel homey and welcoming. Even though full renovations are my specialty, I also love helping my fellow RVers create curated homes-on-wheels with a few easy tips—no tools or paint necessary!
Five Renovations To Make Your RV Feel Homey Without Power Tools
December 16, 2024
Tips for Making Your Home-On-Wheels More Homey
1. Plants and Decor
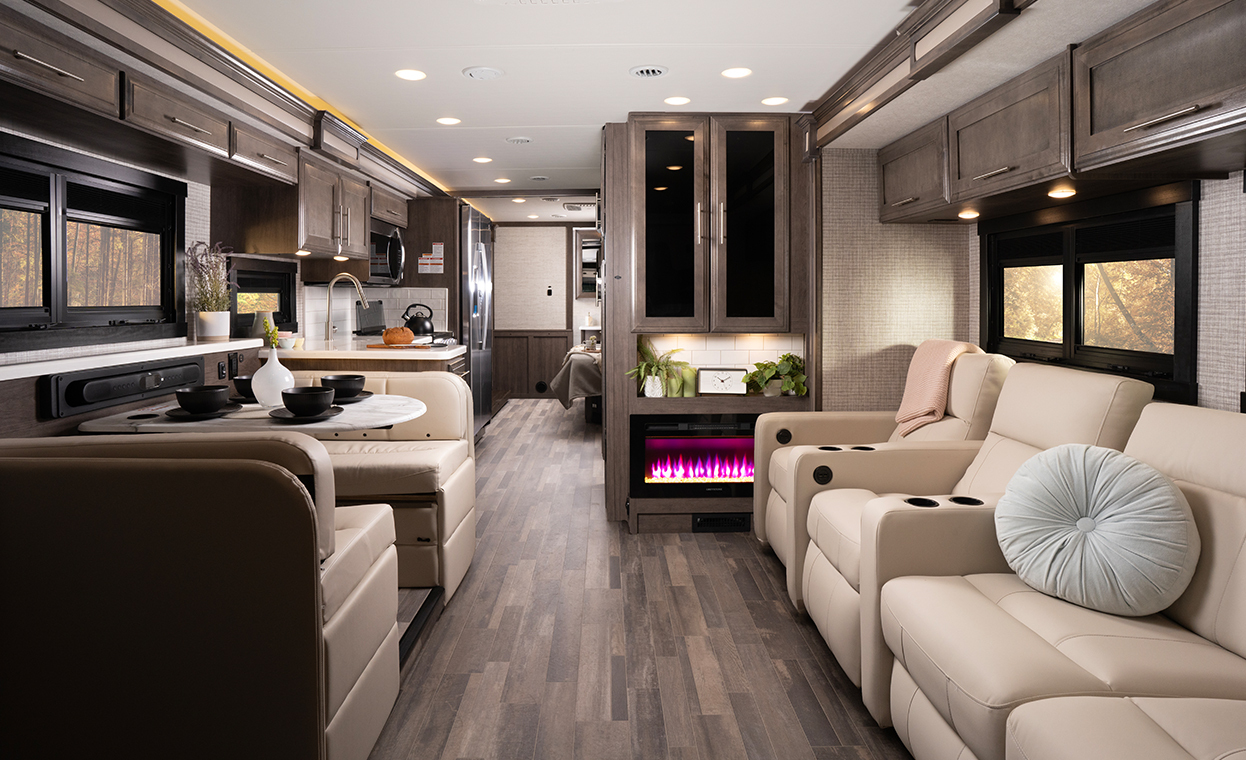
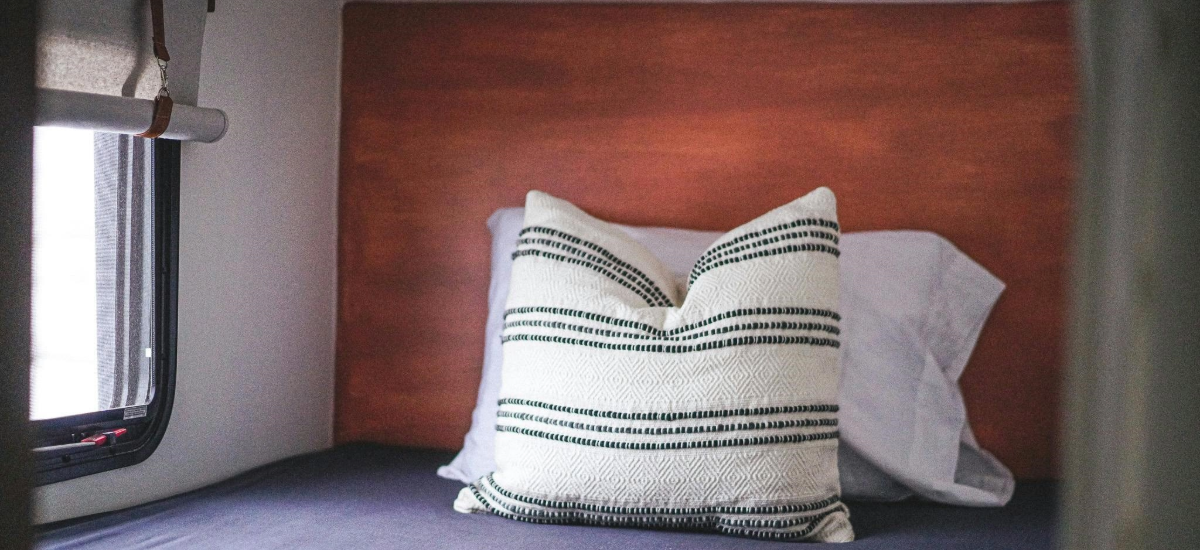
Tip number one is the easiest one: Decor. The throw pillows and bedspreads that come from the RV factory are usually fairly generic and swapping them out for pieces that better reflect your own taste can go a long way in making your RV feel homey.
While many people are afraid to remove the factory-provided decor in case they decide to trade in the RV, you can always put them in storage if you’d like more personalized items. It is amazing how much of a transformation can be achieved by simply adding a few well-thought-out blankets, pillows, and rugs. One of the great things about personalizing an RV interior is that a little goes a long way! By incorporating the colors of existing elements, such as walls, cabinets, and flooring, into your design plan, the overall feel of the finished space will be more cohesive, creating a fresh and inviting feeling with minimal effort!
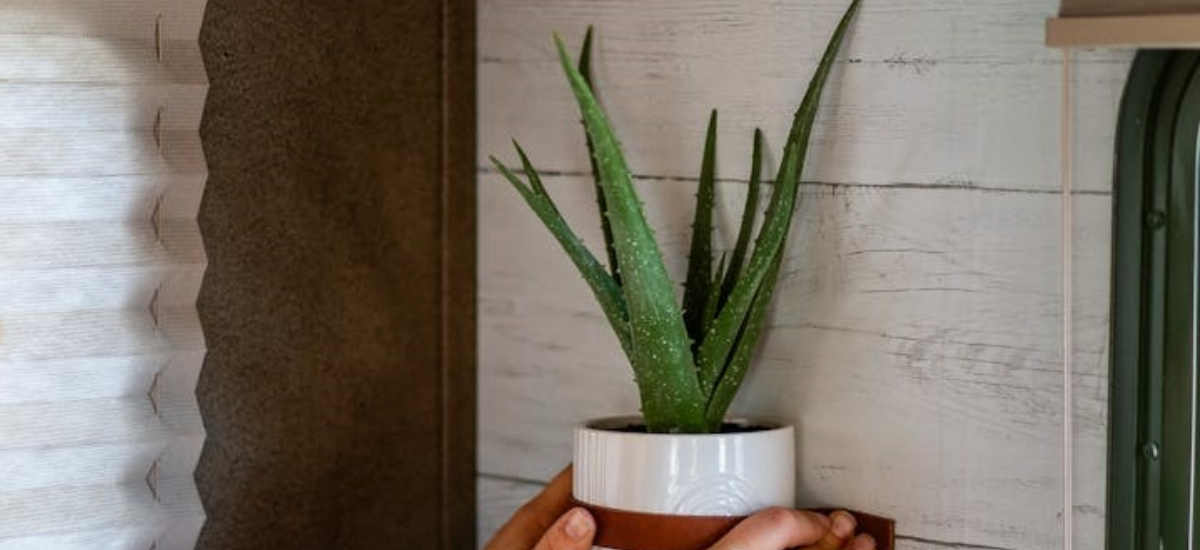
Another great way to freshen your space is with plants. While plants and RVing might not seem to go together, there are a few ways that you can successfully cultivate a green thumb while on the road.
Attaching a bit of museum putty/wax to the bottom of your potted plants and other decor items can help keep them in place on travel days without permanently altering the surface. If you would like something a bit more secure for your little plant babies, you could also use adhesive-backed velcro strips to keep the plant in place. Soil-free gardening kits and wall plant systems can also be fun ways to enliven your space with greenery.
2. Hang Pictures and Art
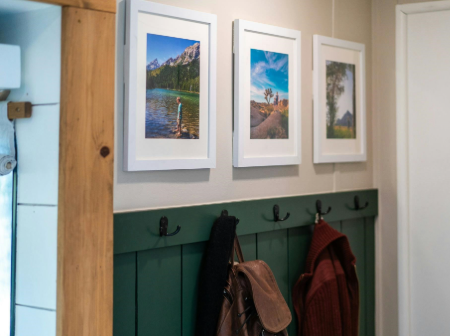
Do you want to frame pictures of your travels in your RV, but don’t want to put holes in your walls? There is a solution! Adding wall art to your RV’s interior is a perfect way to curate your space. When you combine lightweight and hard-to-break plexiglass frames with wall hanging strips, not only can you display your memories and pictures that bring joy, but you can do it without damaging your walls, or pulling out any tools!
After measuring out where you would like your art to hang and using some painter's tape to visualize and mark it out, you can attach the hook and loop strips to the frame before attaching it to the wall. This setup is also very low commitment—if you don’t like the placement, you can remove the strips from the wall and start again!
3. Wallpaper
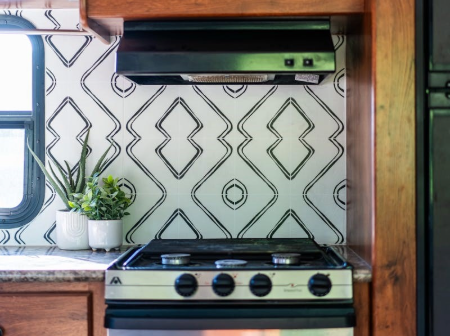
Painting is not the only way to cover up and transform RV walls. Peel and stick wallpaper comes in an incredibly wide variety of colors and patterns and is a great option to quickly and fairly inexpensively tailor a space to your tastes. Adoring even a small wall or section of your RV with a fun pop of wallpaper can make a huge difference to the overall feel of your RV.
The backsplash area of the kitchen is a great place to wallpaper, and many companies make vinyl peel-and-stick tiles and wallpaper specifically for backsplashes in many fun patterns that can really spice up the feel of your RV kitchen. Look for a peel-and-stick with a high-quality adhesive, in order to withstand the temperature variations RVs typically experience.
4. Slideout Trim
The last tip we have for you today is a bit more involved than picking up a few pillows at the local home decor store, but with a few simple tips, this top-requested RV upgrade can be done easily. If your slide-out trim, also known as slide-out facia, has seen better days or you just want to change out its looks, swapping it out for painted or stained wood can be done in an afternoon (without any power tools).
Most RV trim can be easily removed with a screwdriver and a bit of patience. After the old trim is removed and measurements of the slide-out have been taken, it's time to go shopping. Lightweight wood planks, like cedar or pine, can be cut to length on-site at most home improvement stores. We often use 1x6 pine common boards, sanded, and then stained and sealed, or painted. After the boards are prepped they can be attached to your slide-out using a generous application of construction adhesive and held in place with a few woodworking clamps while the glue dries. Now you have beautiful, custom trim to accent your RV interior design!
Whether you are traveling in your RV for a three-day weekend, or for months at a time, having the living spaces of your RV really feel like an inviting home makes all the difference in living tiny.
5. Headboard
The headboard space above the primary bed is a fanatic canvas to do something fun to personalize your RV and create a more homey space. Want a fun farmhouse feel? Maybe some faux-shiplap is in order! Want to let your inner artist out? It's a perfect canvas for a mural! Feeling a little bohemian? A small wall tapestry or fun woven rug can easily be attached to the wall with picture hanging strips. Wallpaper, geometric feature walls, or rustic wood planks can all be used to create a fun headboard focal point. This small but impactful area is perfect for letting your creativity run wild without having to tackle a massive project.

Renee Tilby
In 2018 Shaun and Renee decided to trade the typical American dream for life on the road. Driven by the desire to spend as much quality, adventurous time with their five young children as possible, they downsized their lives to explore the USA in their Jayco Jay Flight travel trailer with dirt bikes, mountain bikes, and paddle boards in tow.
Share:

