It’s that time of the year again, when those living in cooler climates start thinking about winterizing their RV. Each RV is a little different in terms of systems and which tasks to do in which order, but there are some common step every RVer can take to make sure they can hit the road with confidence when the warm weather returns.
Empty the lines
Before beginning, make sure your water heater is turned off and has cooled down. Once it’s cooled, empty it by opening the pressure valve and taking out the drain plug. Then you will want to go inside your rig and turn on all sinks, showers and toilet valves and run until no more water is coming out. Once you’ve cleared all the water out of your system, turn off your water pump.
Next step, move valves to the “sanitize/winterize lines” position and make sure the low point drains are closed for the antifreeze to siphon through the lines. Turn on the pump and open all your faucets again one at a time until you see antifreeze coming out.
Water system care
Your water system is the most susceptible to damage during the winter months. If any water is left in the lines it can freeze, expand and rupture your pipes and hoses. To protect your rig from this unwanted damage, you will want to run RV antifreeze through your water system when winterizing.
It is important to note the two different kinds of the antifreeze out there. RV Antifreeze is very different from the antifreeze that is put into your car. RV Antifreeze is typically a non-toxic pink fluid and is used to protect your RV’s plumbing system. DO NOT get RV antifreeze confused with the toxic ethylene glycol- or methanol-based antifreeze that goes into your car. Click here for a step-by-step guide to winterizing power or air pressure plumbing systems
Thoroughly clean your RV’s exterior
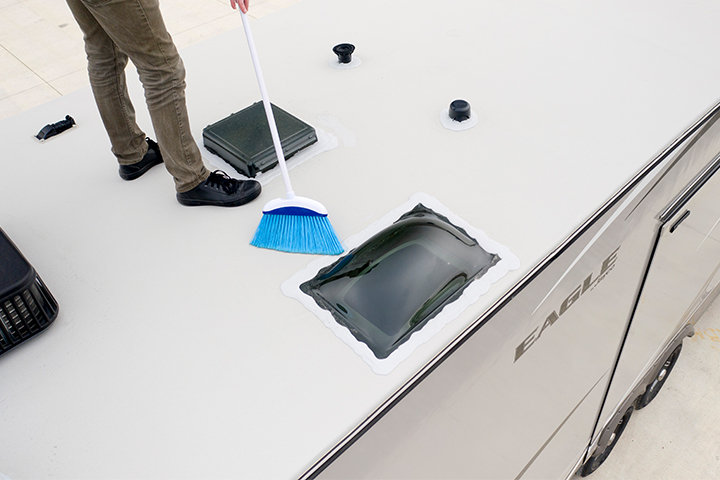
Some elements that can be highly damaging to your RV’s exterior include road salt, road tar, bugs, bird droppings, tree sap, acid rain and UV exposure. Especially when left on over the winter, these can cause corrosion, staining and chemical spotting. Regularly waxing your RV will help protect the exterior. Pay special attention to seals as well, learn more about how here.
Thoroughly clean your RV’s interior
This should be done once or twice a year, and what better time than while you’re winterizing. The materials used to construct an RV may be a little different than in your home. You can find some of our recommended cleaning supplies and techniques here.
Disconnect the Battery
Make sure you protect your RV’ battery by disconnecting the negative cable. If left connected while in storage, your battery could drain resulting in a shorter battery life span.
Cleaning the tanks
Before you store your RV for the winter you will want to clean out all the tanks. It is best to start with the black tank, then your gray tank and lastly your fresh water tank. You will want to dump, clean, sanitize then flush with more water to make sure you clean everything out.
Lubricate hinges and locks
To avoid jams and sticking when next season comes around, lubricate these with a simple household lubricant when putting your unit away.
Frequently asked questions
Here are some of the most common questions we hear from RVers about preparing their unit for winter.
When should I winterize my RV?
Your RV should be winterized at the end of the camping season or when the RV will be exposed to temperatures that will fall at or below 32°F (0°C).
Can I take my RV through an automatic car wash?
It is not recommended to take your RV through an automatic car wash. Hand washing is the best way to clean your RV and prepare it for winter.
Should I leave any water in my RV tanks while it’s in storage?
Fresh water tanks should be as empty as possible. We recommend keeping about 7 percent of water in black and grey tanks with a tank treatment to prevent bacteria or solidification.
As always, we ask that you read your RVs owner’s manual for system instructions and advice for your specific unit.

